You have done a considerable amount of research and have decided that going solar is the best choice for your home. Now you’re looking for a great solar panel contractor for the job! Congratulations! You are now ready to start your solar panel installation process! Just like any home renovation process, the solar panel installation process will vary depending on the specific attributes of your home. However, even with each home’s unique needs, you could get an idea of how the process will go. This blog will go over the solar panel installation process so that you can get an idea of what to expect.
The Solar Panel Installation Process, Step by Step
Deciding to install solar panels on your home is an exciting decision. While it would be awesome to get your solar system installed and set up in one day, the entire process requires time. There are various steps that need to be accomplished before you can enjoy your new solar panel system. While each home is unique and has different circumstances, home solar panel installation and activation processes usually involve:
1. Site Assessment & Design
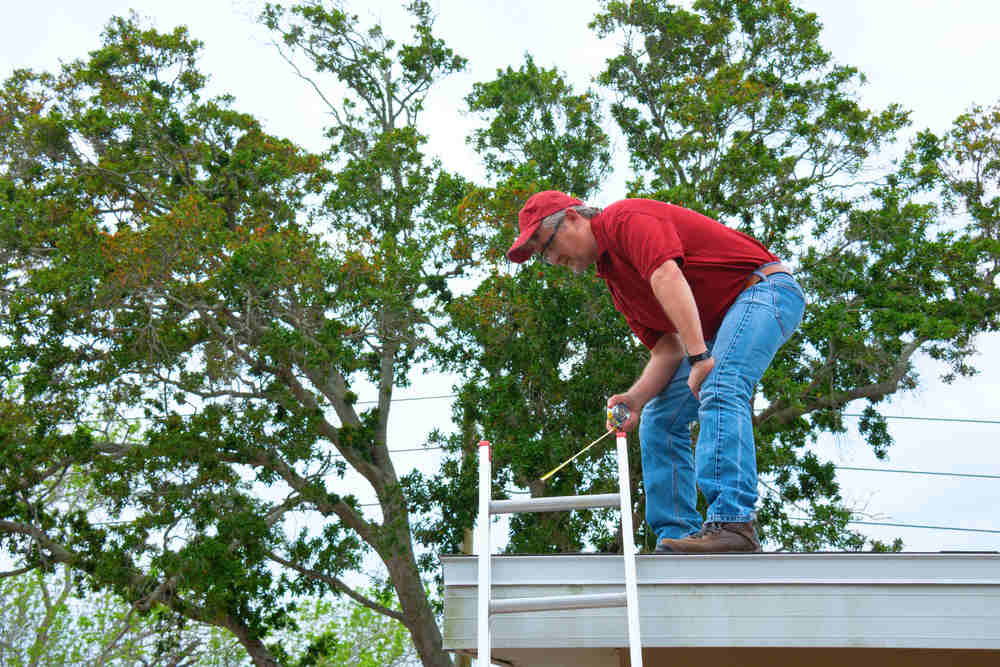
The very first step is the initial site inspection of your property. This is where a contractor will visit your home and examine the property to get a better understanding of its needs. Your contractor will then design your solar panel system depending on your home’s unique attributes. If necessary, your contractor will provide you with a list of issues that might hinder the panel installation, such as invasive tree branches or roofing repairs. These things need to be taken care of before commencing the installation of your solar panels.
Timeframe: 1-4 weeks
2. Permitting
Your solar panel design needs to be submitted to your local government for permitting. This process varies from region to region. This is why you should choose a contractor should know the ins and outs of permitting in your area.
The good news is that if you work with Sunlight Solar, we’ll take care of all of the paperwork for this process. We know all about permitting for different regions, so all you really have to do is be patient and let us handle the task!
Timeframe: 2-8 weeks
3. Solar Panel Installation
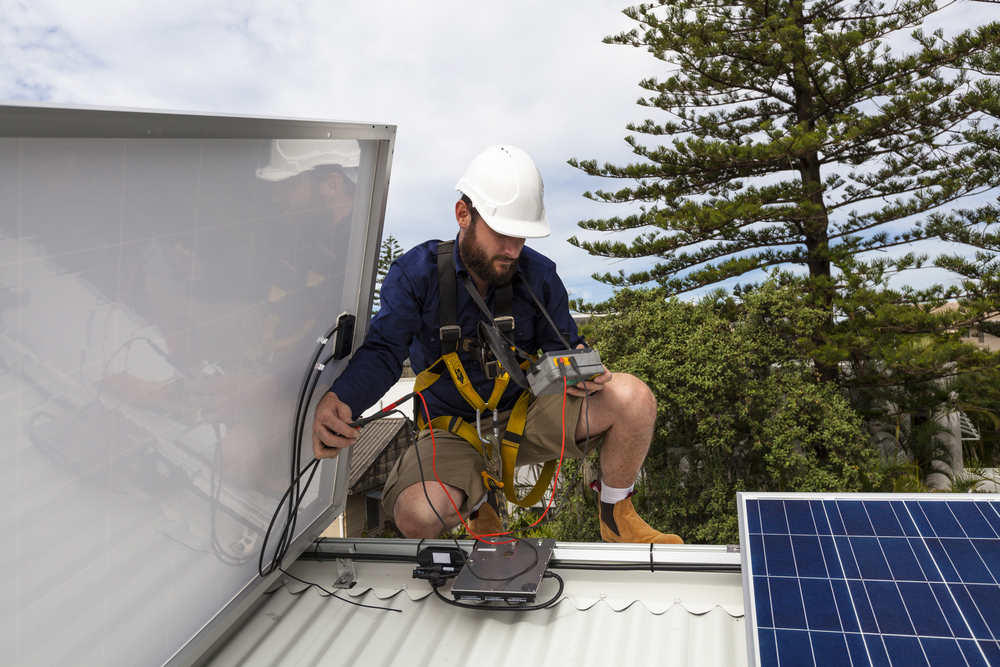
Once you’ve received approval, your solar contractor can begin to work! This involves ordering your solar panels and ensuring that your roof is structurally sound and free of any type of obstructions. When the big day arrives, the installation team will install the proper wiring and mounting equipment on your roof. The solar panels will be installed and ready to go! This process is usually done in one day.
Timeframe: 1-7 days
4. Government Inspection
A final inspection is done by your local government and/or municipal utility agent. This must occur before your new solar panel system can be turned on. This usually consists of an inspector visiting your home to ensure that the solar panel system is properly installed. They might install a net meter, which tracks the production of energy and sends the excess amount back to the electrical grid.
Timeframe: 2-3 weeks
5. Activation
Once the government inspection is complete and you receive approval, you can immediately turn on your solar array and commence harvesting solar energy for your home! Now you can enjoy the fruit of your labor!
Solar panel installation processes may be lengthy, but they’re totally worth it in the end! You will be producing your own, clean energy while completely eliminating your electric bill! We hope this blog helped you get an idea of the solar panel installation process and what to expect. If you’re ready to go solar, give the expert team at Sunlight Solar a call at (858) 360-8295, or click here to contact us today!


